
Let's just cut to the chase - I got the parts for Prototype 3 in the mail today. I thought it might be helpful for backers to see the process of building the camera (even though this is a pre-production model - take everything with a grain of salt!).

The laser cut parts arrived in rather unceremonious looking packaging. If there's one thing after-school specials taught me, however, you can't judge a book by a cover. So let's get started, with the viewfinder hood.
Viewfinder Hood

These are the pieces for the viewfinder hood: top, back, and sides (L to R). All are 1/16" thick.
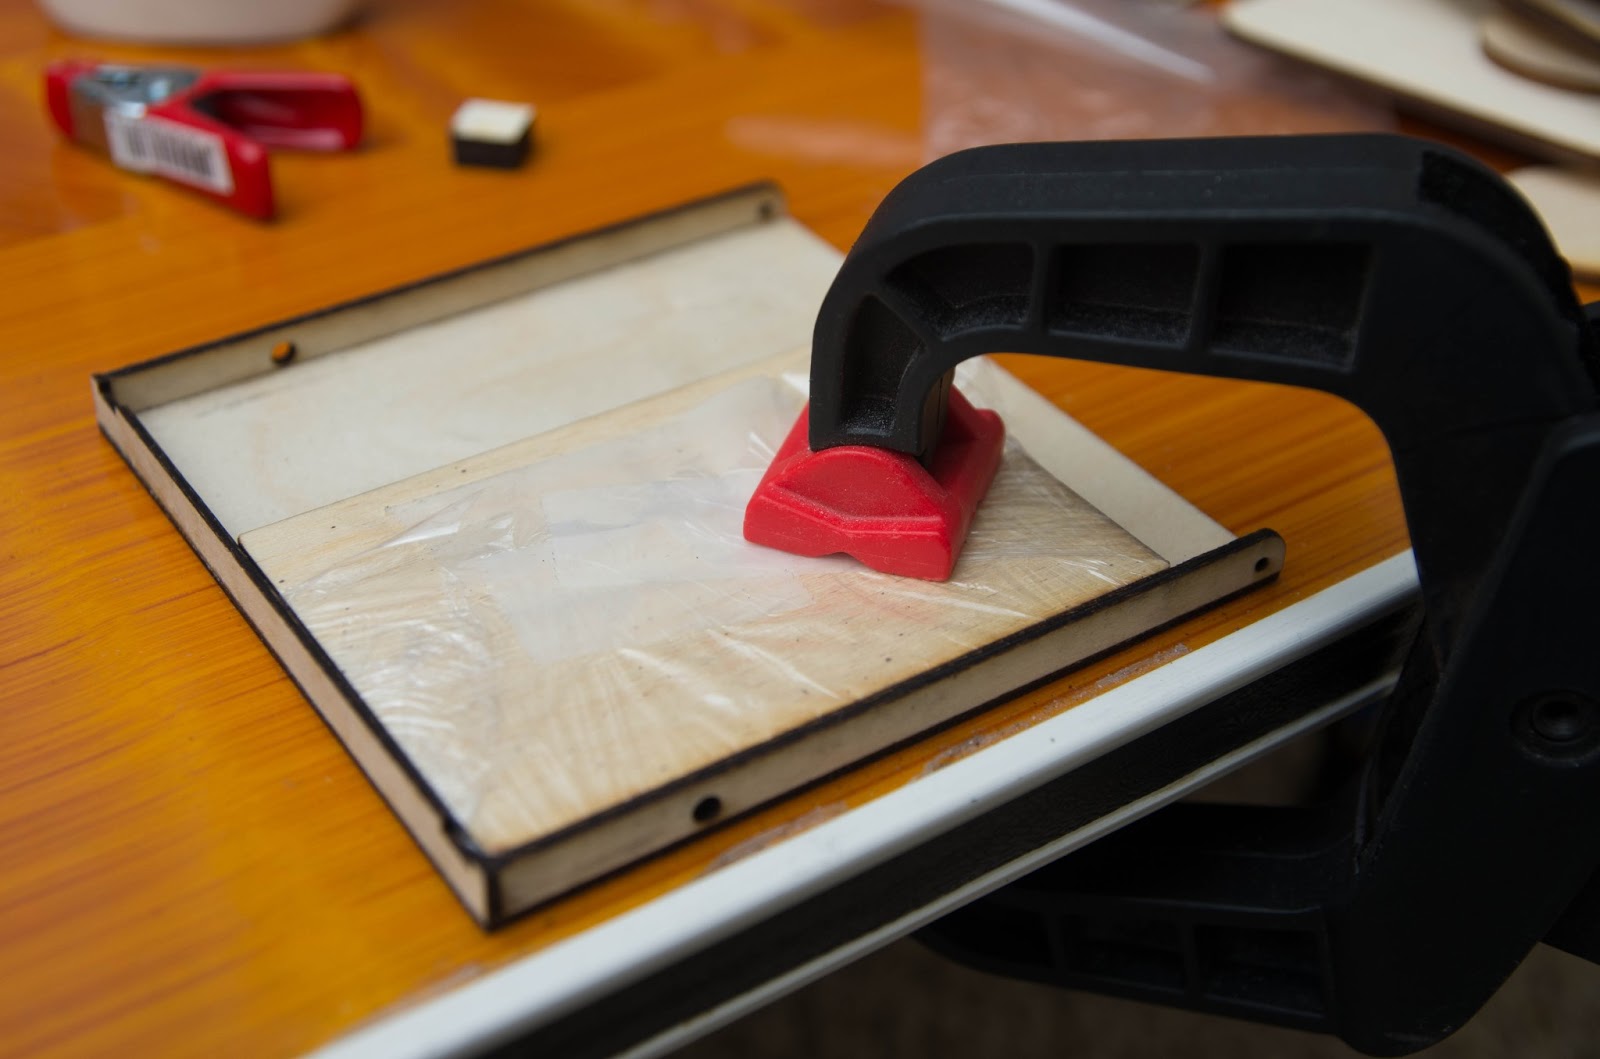
The back and side pieces are simply glued to the top piece. Since these are thin pieces, they can be tricky to glue. A thick piece of wood clamped to the top piece provides a good support.

There we go. Piece of cake. We'll want to do some sanding to smooth all the corners and make it all nice and pretty. But that'll come later.
Body: Sides

To build the body, we'll start with the sides. Each side is composed of two sandwiched pieces, like shown above. Note the routing to accommodate the plastic-closure Polaroid backs.

The sandwiched pieces are aligned with four small laser engravings denoting the corners.

The best way to glue the pieces together is by drawing the outline of the inner piece on the outer with a pencil. That way you can see where the glue needs to be.

Here are the sides, glued together. See how they're mirror images of each other? Not shown: the about eight textbooks used to clamp the pieces together.

Finally we add a bushing and 8-32 hex nut to each side. The bushing is a press fit (gently tap it in with a hammer or a hard object), and the nut gets glued in with super glue.
Body: Subframe Elements

The mirror plane element gets glued to one of the side pieces (either one). Note how the pieces are slotted and keyed to lock together.

Clamps are your friends! Hammers aren't bad, either.

The center frame element is next. This piece is beveled where it meets up with the mirror element, so they fit together snugly.
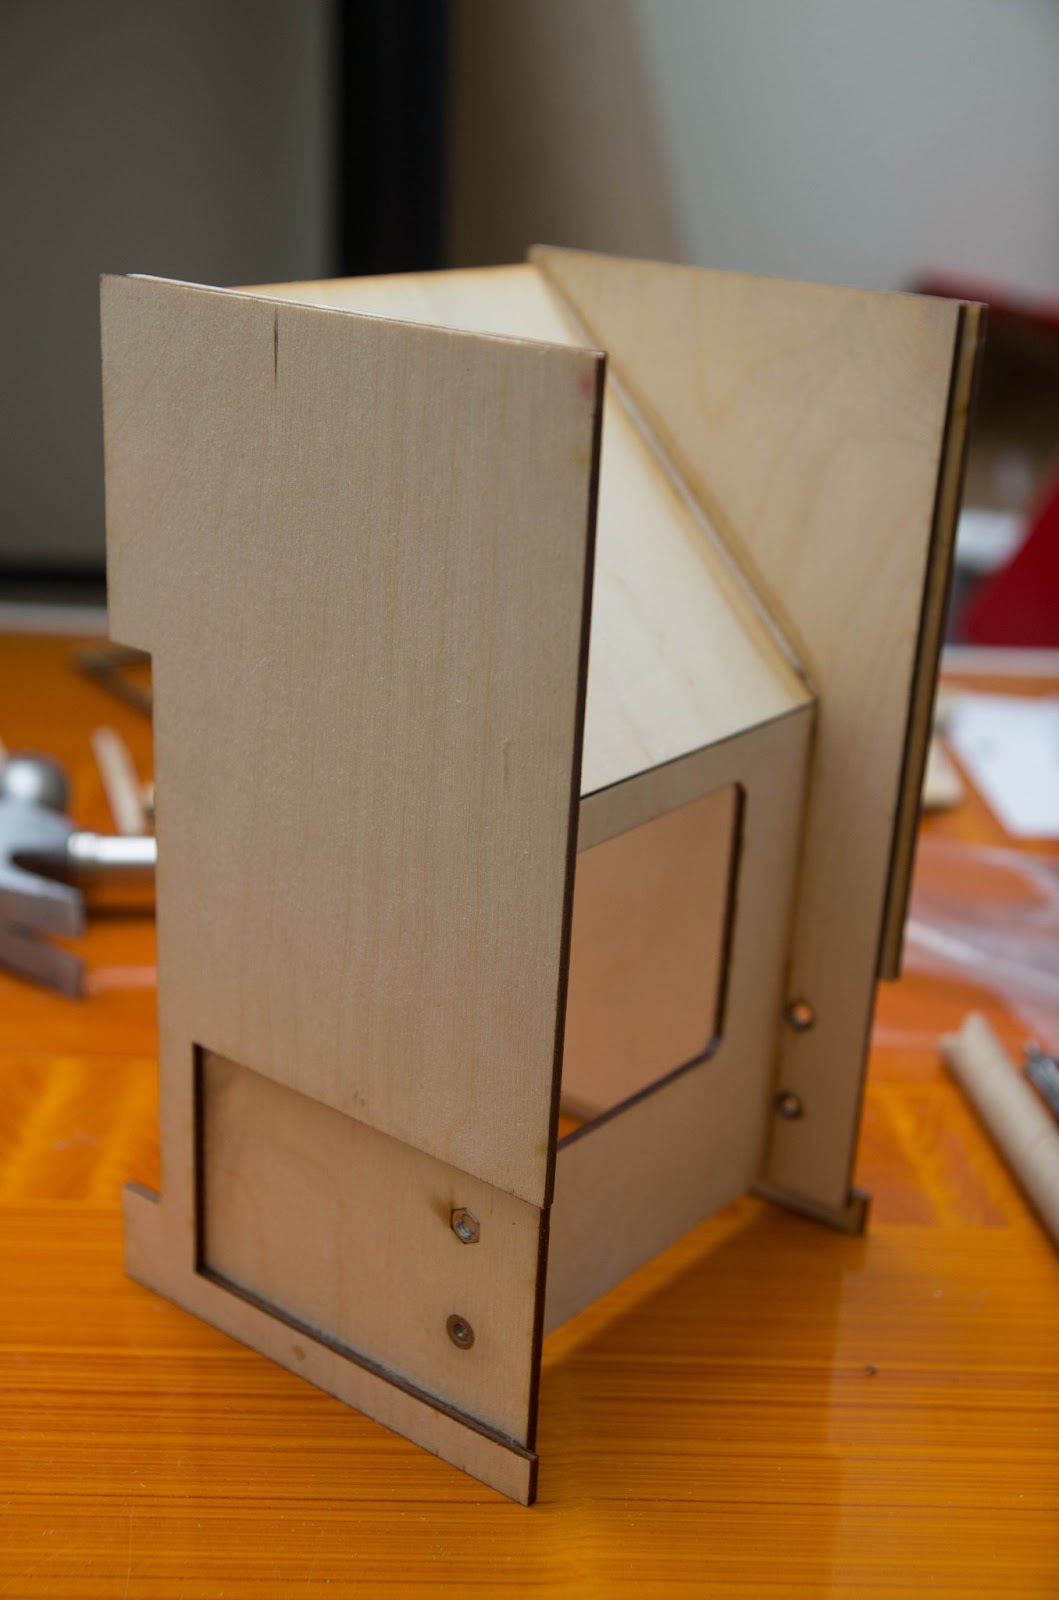

The opposite side is glued on. Starting to look like something now!
Body: Back

Neodymium magnets get glued into the back frame piece.

These magnets are rather powerful, so it's a good policy to use a liberal amount of superglue to hold them in place! The polarities also need to be noted, so they all attract rather than repel.

This back piece is also beveled so that it fits flush against the mirror frame element.

These horizontal retainers keep backs in place and complete the light trap. They simply slot into the back piece.

. . . Like so.

Another slim beveled strip is used near the top of the body.
That's it for today, with about 3-4 hours invested.
That looks awesome! Cant wait to be building my own!
ReplyDelete